From the time I was a kiddo, I remember hearing stories from Mike about the Gingerbread Houses that he and his family made. I was always in awe of this because I LOVE gingerbread and the houses were always so beautiful. Another thing that was enticing was the cups of different kinds of candy that were always spread out on the kitchen table to decorate with...as many of you know I have a major sweet tooth!
Side note in all of this: In high school I went over to Mike's house to do something...for the life of me I cannot remember what (pick him up to head to Dr. Munchies, do homework or one of those things you do in high school, but I have the best memory of seeing all the candy cups on their kitchen table and thinking what a wonderful tradition. I want to make amazing gingerbread houses with my own family some day. Never in my wildest dreams did I think it would actually be with Mike's family - I am so lucky how that worked out!
Side note in all of this: In high school I went over to Mike's house to do something...for the life of me I cannot remember what (pick him up to head to Dr. Munchies, do homework or one of those things you do in high school, but I have the best memory of seeing all the candy cups on their kitchen table and thinking what a wonderful tradition. I want to make amazing gingerbread houses with my own family some day. Never in my wildest dreams did I think it would actually be with Mike's family - I am so lucky how that worked out!
So now that I am married into the family, Grandma Jan has shared her tradition with me. I am so excited. Last year was my first year of participating in this tradition and it was so much fun!
Okay I will try to remember everything, but Grandma Jan if I forget anything, let me know:
1. Find a recipe and plans for the type of house you want to make. I found several gingerbread websites out there and I am sure there are more, aside from the quick google search I did. This is one that I found that had a recipe and a blue print: http://www.celebrating-chr
2. Cut stencils out of the house parts. I traced them onto paper and then cut them out of cardboard.
3. Make the gingerbread dough. Refrigerate overnight.
4. Roll the dough out (we did it on my mother-in-law's Silpat) and then cut out the dough in the shape of the stencils. For the house we are building (which is called a moon house) we needed two front/back pieces, two sides, two roof pieces and one base. We cut a hole in the base to put a light in (the kind of light you see in those porcelain Christmas Houses). And we cut holes in the sides for windows and on the front panel we cut a door. For the holes we used the smallest round cookie cutter I own and Grandma Jan free-handed the door cut. Make sure to try and straighten the sides prior to baking. Also spray the cookie sheet with a bit of PAM or however you choose to grease your pans so the pieces do not stick. Then we baked the pieces at 350 degrees F for about 12 minutes.
5. Prior to next weekend's assembly I have errands to run:
- Pick up any candy that looks good for decorating (Small colorful items) - Grandma Jan keeps the candy in a tub in small clear plastic cups with saran wrap over them. She also has the plans, lights, cardboard cake rounds and doilies in that box so it is ready to go.
- Get sugar ice cream cones as they look great as trees when you put some icing on them and then roll in dusting sugar.
- Buy some more tips and couplers at the cake decorating store (Grandma Jan has the piping bags and one tip/coupler in her tub.
5. Next weekend we will assemble the houses. I will need to make the cement icing and because our kids are little, I will assemble three sides of the houses the night before so the kids can decorate the inside of the house without it falling over.
6. Then we will put on the front and roof - then we can go crazy decorating the outside of the house and the "yard."
7. I will update you on the assembling of the houses after Sunday.
Here are some pictures from last year's assembly:


Here are some pictures from last year's assembly:

(Putting the finishing touches on Tommy's 2009 house)
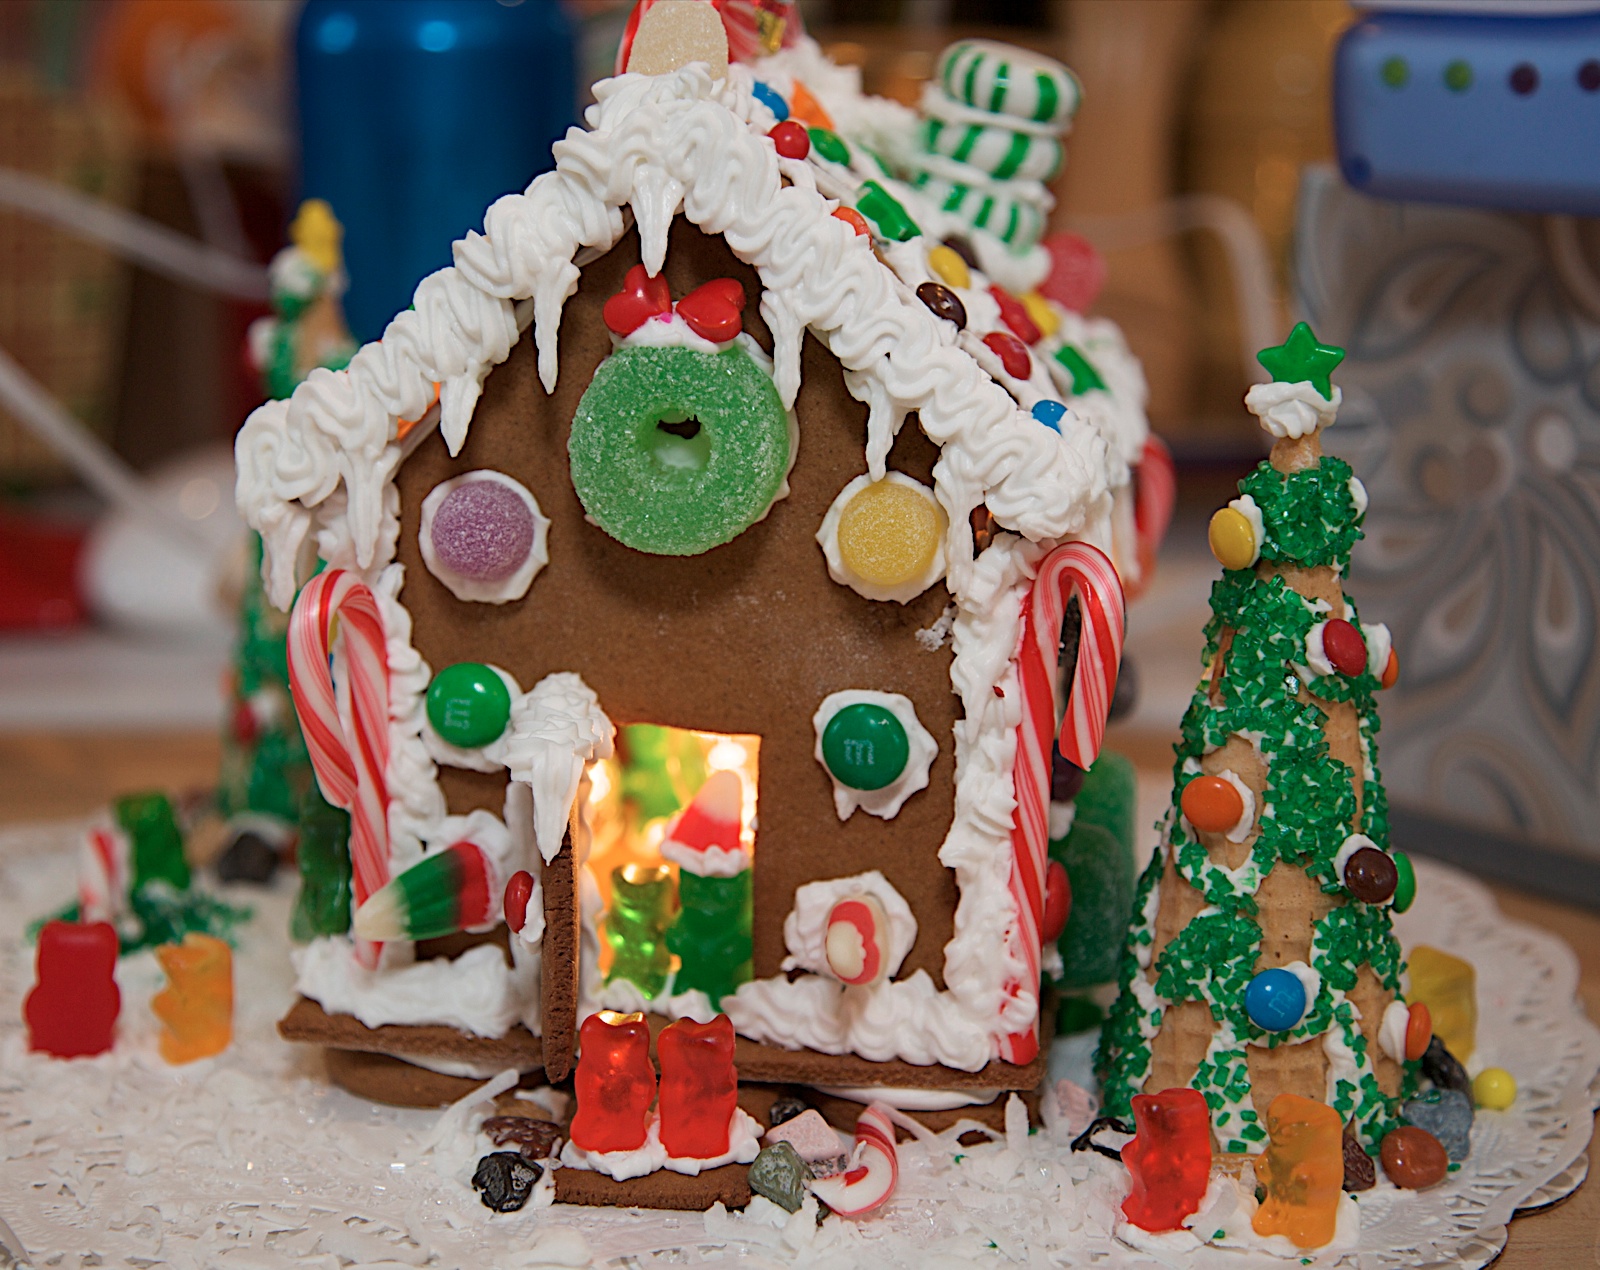
(The finished product - Tommy's 2009 Gingerbread House)
No comments:
Post a Comment